
Jewelry Using a Microfold Brake
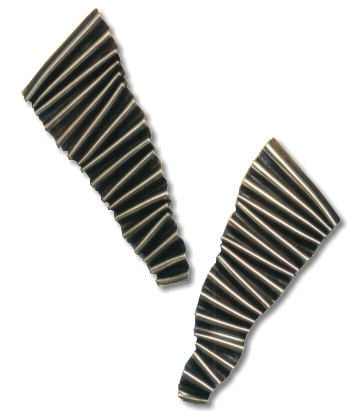
With a simple corrugation tool and basic metalsmithing skills, you can make these great earrings. The newest toy in my studio is a Microfold Brake. I have been having a wonderful time learning what can be done with this tool, experimenting and making metalwork that combines microfolding with my other favorite techniques. I have used the Microfold Brake for bracelets, earrings, pins, boxes, a teapot, and a Hanukkah menorah, yet I feel like I am just getting started with my explorations! I find the immediacy of the tool very alluring. I also like the way the rippling corrugation can be either organic - or geometric looking, depending on how it is manipulated and 
 finished.
4 Minute Read

With a simple corrugation tool and basic metalsmithing skills, you can make these great earrings. The newest "toy" in my studio is a Microfold Brake. I've been having a wonderful time learning what can be done with this tool, experimenting and making metalwork that combines microfolding with my other favorite techniques.
I've used the Microfold Brake for bracelets, earrings, pins, boxes, a teapot, and a Hanukkah menorah, yet I feel like I'm just getting started with my explorations! I find the immediacy of the tool very alluring. I also like the way the rippling corrugation can be either organic - or geometric looking, depending on how it's manipulated and finished.
This earring design is a variation of ribbon forms shown in Patricia McAleer's book, Metal Corrugation: Surface Embellishment and Element Formation for the Metalsmith. Because corrugation adds strength, thin silver can be used, making light, comfortable earrings.
What you need: | |
|
|
Optional tools (helpful but not essential): | |
| |
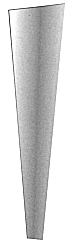
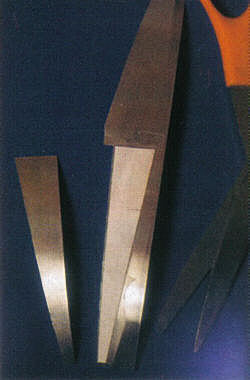
| Cut the metal to shape. You can use this pattern or experiment with other shapes. When designing, remember: the metal will be about 25% shorter after corrugating, and 25% shorter again after selectively crimping the ends of the waves. | |
| You may wish to try this in copper first - it's a more affordable material to experiment and learn on - before using silver. With the silver gauge used in these earrings, I find that a pair of scissors does the job more neatly and easily than a saw or metalsmithing shears. | |
| It's a good idea to sand the edges smooth at this point, while it's flat. Sand out any nasty scratches, too. | |
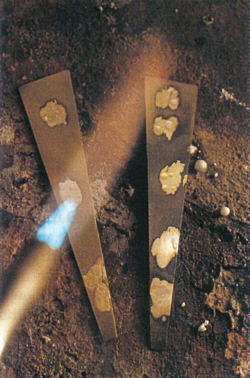
| Anneal the metal to soften it (unless it is already annealed). Use a small flame, carefully. If possible, anneal in a dark room so you can see the metal glow faintly. To anneal in light, apply dabs of flux. When the flux is fluid, the metal is annealed. Pickle the silver to clean off the oxides. (If the pickle is cold, you can use hot water to remove the flux, and then pickle to remove the oxides.) | |
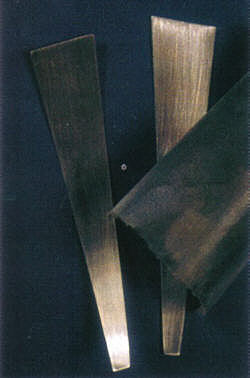
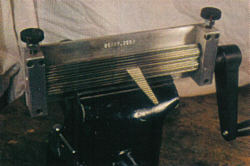
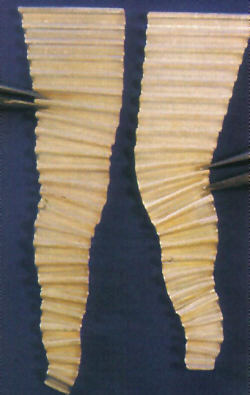
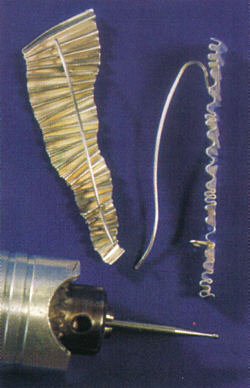
| Corrugate the silver. I prefer to use the Microfold Brake, which can be held in a bench vise and is easy to use for consistent results. Turn both knobs until the rollers are tight at both ends, then loosen each knob 1 full turn. Run the silver through the rollers. If the corrugation is not tight enough, tighten each knob by 1/4 turn and recorrugate. (The silver automatically realigns.) For these earrings, I tightened 1/4 turn a second time and recorrugated again to get deeper waves. | |
| Since the silver has now been work-hardened, it must be reannealed and pickled. | |
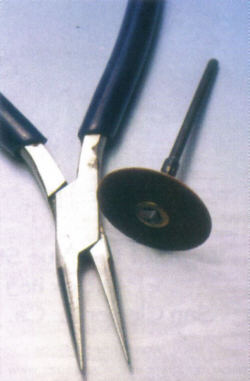
| Check the tips of your chain nose pliers. They need to be small enough to go between the "hills" of the corrugated metal. Round the tips and edges of your pliers to minimize gouges in the silver. I refine the tips of my pliers with snap-on sanding discs, but files, belt sanders, or sanding sticks can also be used. | |
| Use the chain nose pliers to gently crimp (squeeze) together some of the "hills" of metal on the right edge and some on the left. After crimping the ends of 2, 3, or 4 crests, I gently squeeze those ends closer for a more dramatic effect. The effect is most dramatic if the crimping is done on the front. I like to make each earring different from the other. A variation is to flatten some of the corrugation with pliers. Another idea is to crimp closed some of the "waves" just on the end, and some of them for longer lengths. (Use wide, flat pliers to crimp longer lengths smoothly.) | |
| Solder on the findings. I like French wires, which don't poke me when I talk on the telephone, but you may choose to solder on posts or to drill holes to attach a finding. I prefer to use 20-gauge sterling wire that is already hardened (either by drawing down larger wire or ordering it hard). Hold the wire in locking tweezers so only about 1/2″ of wire is exposed for soldering; this way the rest of the wire will not be annealed by the soldering process, and will stay springy. I usually flow a bit of silver solder onto the earring and then quickly re-flow it to attach the wire. I often solder a short wire near the bottom to make a hook to catch the ear wire for greater security.Clean up any messy solder. Check for nicks or scratches and sand them off. Bend the wire so that it springs, yet catches, in the hook. I use a cup bur to round the ends of the wire neatly. | |
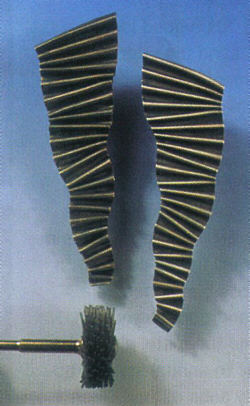
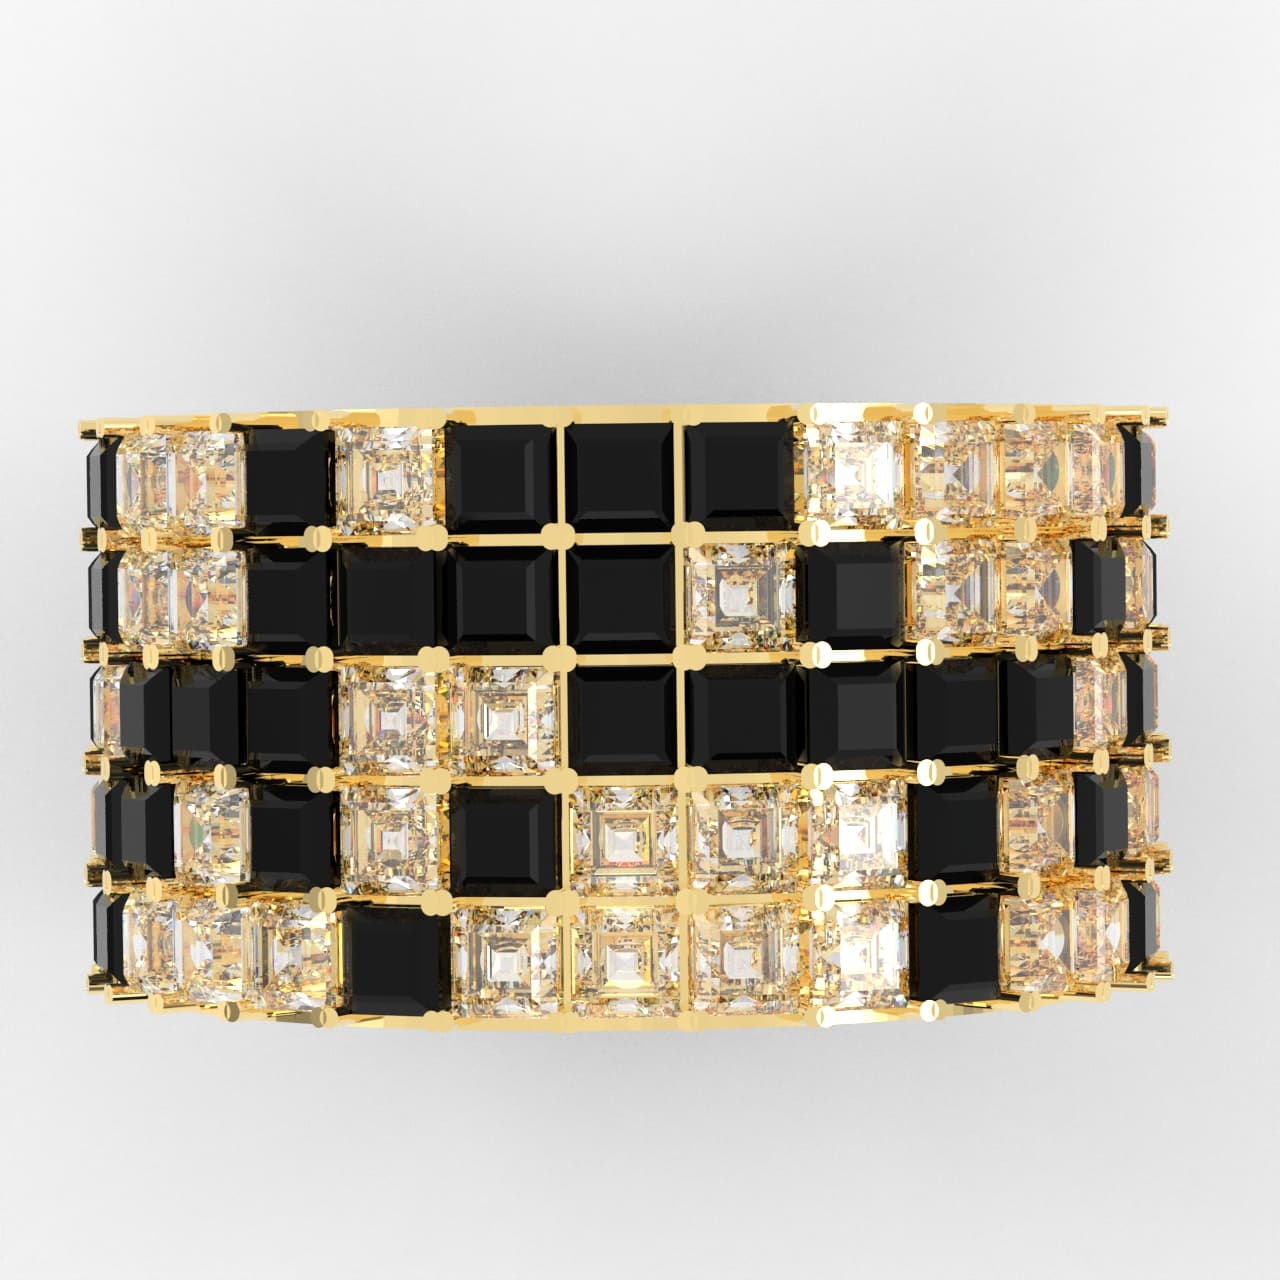
| To achieve the black and white effect, apply an oxidizer such as liver-of-sulfur to the earrings using a cotton swab or paint brush. After applying, rinse well. 3M's blue (400-grit) Radial Bristle Discs remove the oxide from the high spots and edges, leaving a nice satin finish. Wet a brass brush with soapy water and go over the front and backs of the earrings. This gives a soft-looking, but shiny finish that is practical and wears well.Your earrings are now complete. |

You assume all responsibility and risk for the use of the safety resources available on or through this web page. The International Gem Society LLC does not assume any liability for the materials, information and opinions provided on, or available through, this web page. No advice or information provided by this website shall create any warranty. Reliance on such advice, information or the content of this web page is solely at your own risk, including without limitation any safety guidelines, resources or precautions, or any other information related to safety that may be available on or through this web page. The International Gem Society LLC disclaims any liability for injury, death or damages resulting from the use thereof.
Related Articles

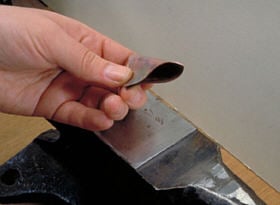
Steps on Making a T-Fold with Table Insert
How to Make a Heistad Cup

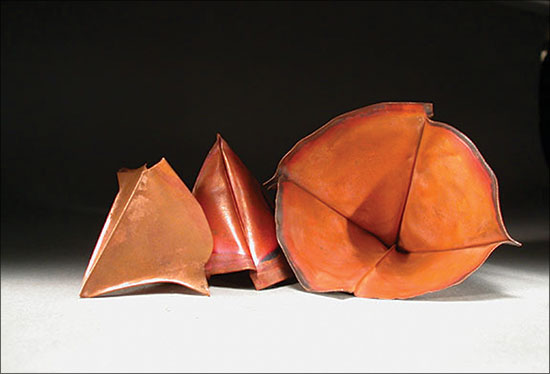
The Origins of Fold Forming
Steps on Making a Rolled Fold Heistad Cup

The All-In-One Jewelry Making Solution At Your Fingertips
When you join the Ganoksin community, you get the tools you need to take your work to the next level.
Trusted Jewelry Making Information & Techniques
Sign up to receive the latest articles, techniques, and inspirations with our free newsletter.