
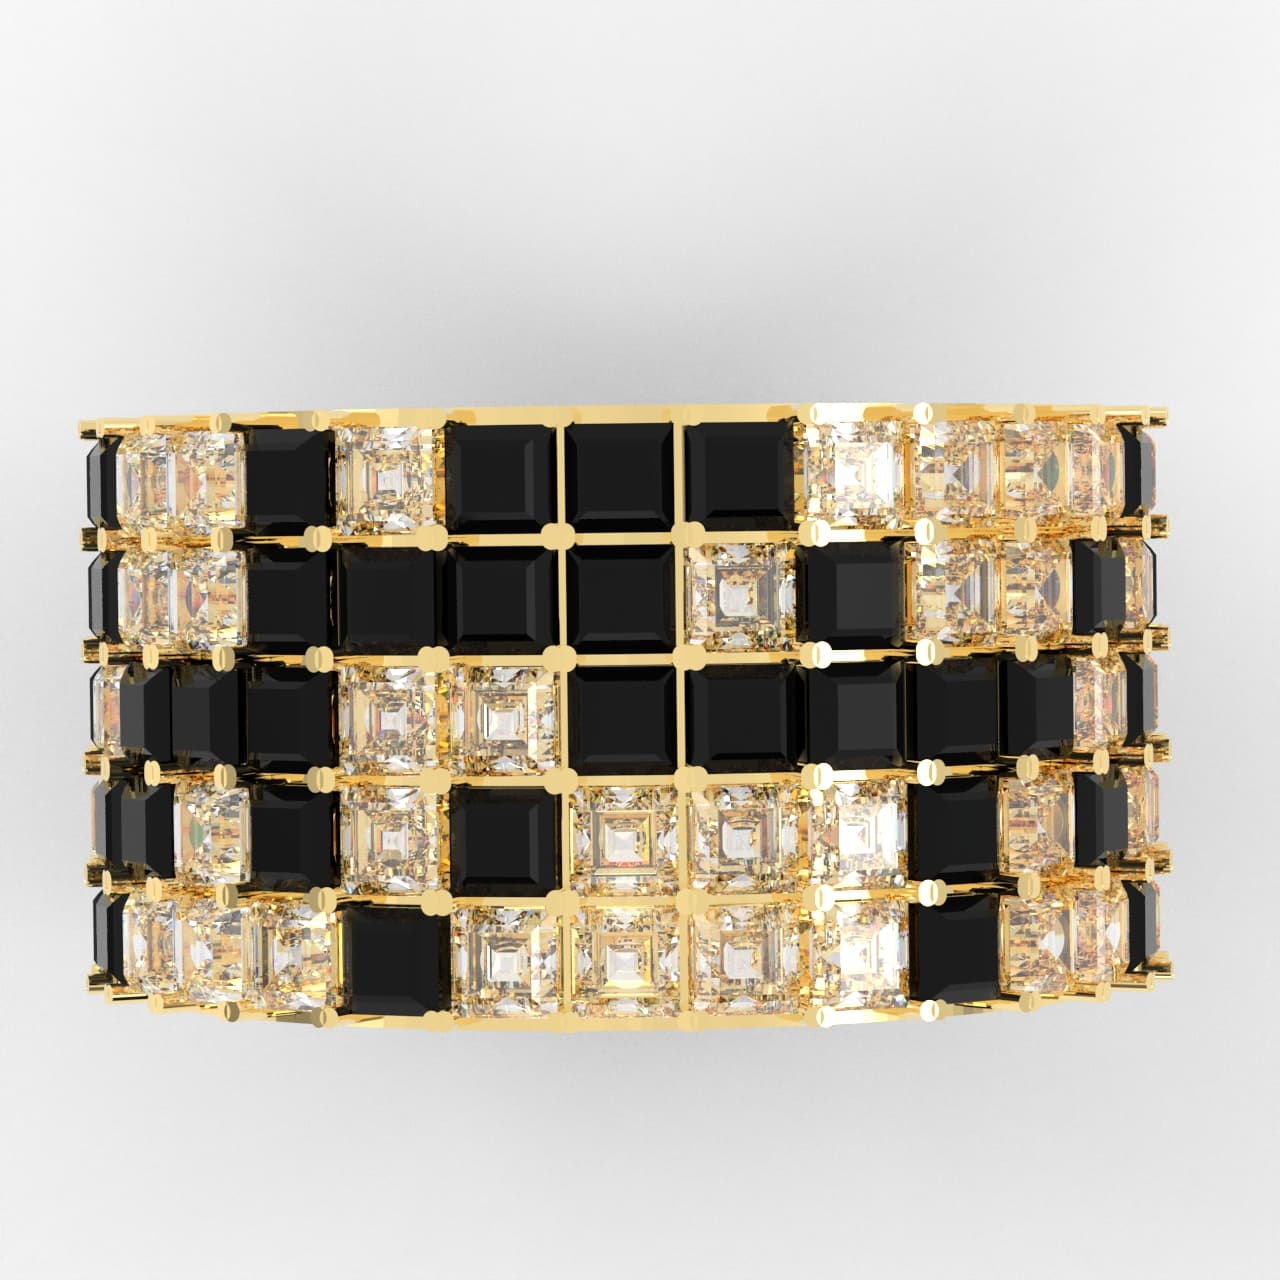
Plique-a-Jour Russian Soldering Method
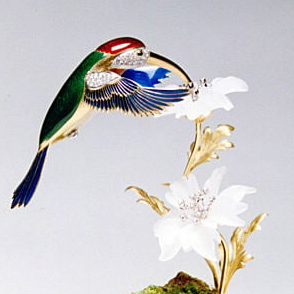
There are a number of methods for plique a jour, a filigree technique that allows light to shine through the enamel, much like stained glass. With plique a jour, there is no backing for the vitreous enamel; instead a structure of metal is made with open spaces, called cells, for the enamels. I form a framework of fine silver square wire and within that framework I solder wires.
8 Minute Read

There are a number of methods for plique a jour, a filigree technique that allows light to shine through the enamel, much like stained glass. With plique a jour, there is no backing for the vitreous enamel; instead a structure of metal is made with open spaces, called cells, for the enamels. I form a framework of fine silver square wire and within that framework I solder wires together in a design formed of cells.
To make the framework as I do, you need to know how to use the jeweler's torch and how to solder. I use this Russian method of soldering primarily to make fine silver earrings. As the earrings dangle, the light shines through the enameled cells.
I start with rough sketches and then make an exact drawing. I keep a file of my drawings. If the earrings are asymmetrical, I also trace the drawing from the opposite direction. The cells arc kept under 3/16″" in width. The drawing is copied on tracing paper and trimmed with a 1/16″" margin all around. The tracing paper drawing is the pattern on which I will glue the cut pieces of wire. I put this drawing on a 3 "" x 5 "" white index card and then put both on a 2 "" thick Styrofoam block. The drawing and card arc held in place with stainless steel dressmaker straight pins, one in each corner.
I use 16 ga square, fine silver wire for the outer wire frame. The major lines of the design are 16 ga x 22 ga fine silver wire and the fill in lines arc 16 ga x 32 ga. You can use decorative wires if they arc the same dimensions as the fill in wires. 1 bend and cut the wires to the file card pattern with jeweler's pliers. Each wire piece, formed to match the pattern, is flattened on the steel block with a plastic hammer. The flattened segment is picked up with tweezers, dipped in Sobo white glue, and then placed on the tracing paper pattern. Be careful to keep the wires perpendicular to each other. Like the wires in cloisonn?, they have to make a tight butted joint.
When all the glued wires are in place and dry, I remove the pins and put the piece and the tracing paper on a 1/16″" or 1/3″" thick oxidized steel plate. The oxidization on the steel will prevent the solder from adhering to the steel plate. The plate is oxidized by being repeatedly fired in the kiln until it is black. Using 60 mm binding wire, bind the glued wires to the steel plate. First wind the binding wire horizontally
1/8 "" apart and then vertically also every 1/8 "" apart. When a piece of wire is holding ever, joining, the work is ready to be soldered.
The flux I use for soldering is a solution of half dry boric acid and half borax (Boraxo) mixed with warm water. About a half cup of each is put in a heat resistant glass lidded container, like a small Pyrex casserole with a wide opening, because hot enamels will be put into it. The water is added gradually while being stirred with a thin rubber spatula until the solution is the consistency of maple syrup. It should not crystallize when it is cool. If it does, add a little more warm water and let it cool. Eventually, it will not crystallize and that is just right. The flux solution is stored in a tightly covered glass jar so it will not evaporate. A hot plate or the top of a hot kiln can warm it when you arc ready to use it.
The solder is 72/28 silver/copper that comes in a bar form. Thompson Enamel and T. B. Hagstoz and Sons, Inc. sell it. I make filings of the solder bar with a clean coarse file onto a piece of clean paper. Once you start to add the solder to the piece, you have to work quickly. The wired piece is dipped into the warm flux solution and placed vertically in a bird's nest (a wad of binding wire, loosely scrunched together) to prop up the piece. I sprinkle the solder filings with my fingers into all the joints. The flux is dried with a Rosebud torch tip, using a low oxygen bushy flame. The torch burns off the tracing paper also. Then the flame is increased, and the torch is moved up evenly from the bottom to the top as the solder flows. This solder turns black when it has flowed. All joints must be touching in order for the process to work. The piece is dropped into warm boric solution to cool and then the joints arc checked. If there are any loose joints, I push them together with tweezers, dip the piece in the flux solution and reapply the solder filings with a brush. It usually takes about three soldering passes to complete the soldering. When all joints survive being tugged at with the tweezers, I remove the binding wire and drop the soldered piece into fresh warm pickle of Sparex 2 solution, neutralize it in baking soda solution and rinse well. Remember to use copper tongs to remove the piece from the acid. The piece is rinsed well before the next three kiln firings.
The final step before enameling is to heat the piece in the kiln at 1430 F three times for one minute each time to bring fine silver to the surface. The first two times, the heated piece is put into water, then into an acid bath for five minutes, and then rinsed with clear water. The third time, the piece is not put in the acid bath but is either air cooled or cooled in water. Handle the piece as little as possible to avoid damaging it or contaminating it with oil from your hands.
My principle for plique a jour is short controlled firings that cause the enamel to just fuse to the metal cell walls. The firings must be short enough to avoid having the enamel pull from the center of the cells and run up the wires. It takes a well heat saturated kiln to control the temperature drops when you open the kiln door. My kiln for plique a jour earrings is 10 "" x 8.5 "" x 6 "" on a 110V line. To heat saturate the kiln, I fire it up to 1000 F and let it hold at that temperature for 20 to 30 minutes. Then I raise the temperature to 1450 F for firing. My kiln has a digital pyrometer, and I use a timer for firing. If you greatly overfire the piece, then you have to grind off any unwanted enamels on the wires.
I purchase 80 mesh, leaded and unleaded enamels. I wash the leaded ones with distilled water, just the amount needed for one work session. The unleaded enamels are sifted to remove the fines. The sifted enamels are separated by +150 mesh and 150 mesh. In my experience there is no difference in clarity between 150 through 80 mesh and you need all those grain sizes for your mixture of gum, water and enamel to hold in the cell. I fill the cells with the +150 mesh unleaded and the 80 mesh, washed, leaded ones. To start enameling, I make a 1:5 solution of Klyr Fyre and distilled water and cover each enamel with it, just enough to cover each grain of enamel.
To fill the cells, I use a dental tool that has a pointed spatula on each end, one large and one small. Hold the piece in mid air between thumb and first finger and with the tool swish a gum/enamel mixture around the inside of each cell. I rub the side of the piece with the tough edge of the tool to vibrate the excess water to the surface and even out the grains of enamel in the bubble that was pulled across the cells. The excess water is blotted away with the point of a 3 "" diamond shaped piece of white blotter paper.
The cells arc filled from the smallest to the largest and from the inside to the outside edge of the piece. Apply a thin coat. Some cells will take just a few fillings and firings while others may take eight to ten applications and firings. It is advisable to use opaque or less transparent enamels in cells that are most likely to crack at stress points. The stress points are the areas of transition: on a bowl they are near the rim and on the shoulder; on earrings they are in any sharp corners on the shoulder of curves. You learn by experience where the stresses are on each form.
Apply enamel to all the cells before the first firing. The softer enamels will fuse first, so concentrate on those. When making a pair of earrings, put them on trivets for the firing. Set your timer at 25 seconds when you place the piece in the kiln. If any enamel becomes slightly glossy, that is your firing time. If 25 seconds is inadequate, slightly cool the piece or pieces and then time for 28 to 30 seconds. Repeat the cooling and firing a little longer until the softest enamel reaches the slightly glossy stage. Any enamels that are sugary looking will need longer time after the others have a complete film. When the softest enamels have completed cells with no holes, I move to the higher firing enamel cells that are still sugary and add five seconds to the firing time until those cells start to become glossy. The filling and firing continues until there are no holes in any of the cells and all are glossy.
I check for holes with a magnifying glass under good light. The final firing is a little longer to give a true concave transparency. That final firing could be as much as 11/4 minutes, just until the enamel starts to climb the sides and thins slightly in the center.
To finish the metal, 1 first remove any enamel from the wires with the airflex (332 710) wheels from Rio Grande. The metal must then be polished. To start polishing, I use the RoLoc system from Rio Grande. The diamond pads range from 180 to 800 grit for the flexible shaft. Sometimes the vibrations of the flex shaft will crack cells, so it is important to make certain the tool is well oiled to cut down on vibrations. Without a flexible shaft, you can start polishing the metal by hand with diamond papers. For my final polish I buff with Tripoli and then with rouge.
Plique a jour is a challenging technique. This is my method now. Your job as an artist craftsman is to find creative applications for this ancient filigree technique.
You assume all responsibility and risk for the use of the safety resources available on or through this web page. The International Gem Society LLC does not assume any liability for the materials, information and opinions provided on, or available through, this web page. No advice or information provided by this website shall create any warranty. Reliance on such advice, information or the content of this web page is solely at your own risk, including without limitation any safety guidelines, resources or precautions, or any other information related to safety that may be available on or through this web page. The International Gem Society LLC disclaims any liability for injury, death or damages resulting from the use thereof.
Related Articles
Making a Three Stone Ring – Part 1

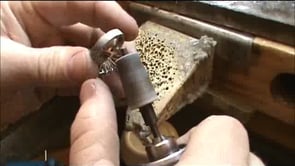
Special Repair Work
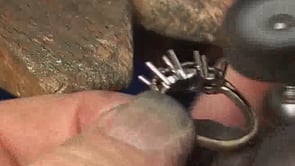
Filigree Soldering Demo Part 3
Tanzanite Ring part two

The All-In-One Jewelry Making Solution At Your Fingertips
When you join the Ganoksin community, you get the tools you need to take your work to the next level.
Trusted Jewelry Making Information & Techniques
Sign up to receive the latest articles, techniques, and inspirations with our free newsletter.