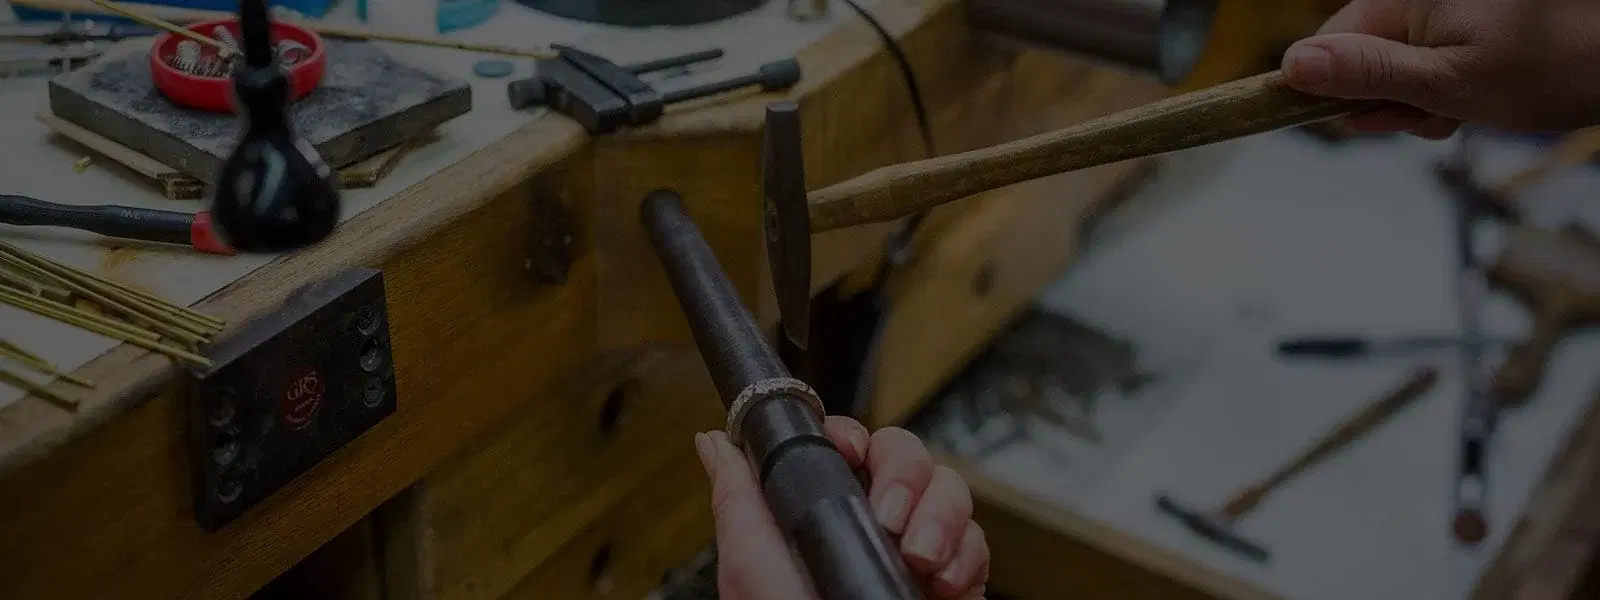
Creating a Rotary Burnisher
Jewelers have been going green for many years by recycling old or worn-out tools into something new and useful. Setting burrs, normally used to cut seats in prongs, can't be used once they become worn or damaged. But instead of throwing them away, you can create a new tool called a rotary burnisher to repair solder pits or minor surface porosity on a casting.
1 Minute Read
Jewelers have been "going green" for many years by recycling old or worn-out tools into something new and useful.
Setting burrs, normally used to cut seats in prongs, can't be used once they become worn or damaged. But instead of throwing them away, you can create a new tool called a "rotary burnisher" to repair solder pits or minor surface porosity on a casting.
Start with an old setting burr that's 5 mm or larger, since a larger burr will produce a etter hammering action. You'll also need a bench grinder with a coarse-cut and a medium-cut wheel.
First, use the coarse-cut wheel to grind the point or top off of the burr, making sure it is flat, then grind the two parallel sides on the burr. This will produce a sort of oval shape: two flat parallel sides and two rounded sides that still have the original teeth from the burr. Grind off these remaining teeth, being careful not to alter the shape too much.
Next, refine the new surfaces with the medium-cut grinding wheel, using the same steps as above. Make sure you remove all of the coarse grinding marks. Now you can sand the surfaces with 400-grit and then 600-grit sandpaper. Finally, polish your new rotary burnisher with tripoli and rouge. It's important to have a high polish on your new tool: A highly polished tool will produce a polished surface.
To use your new rotary burnisher, insert it into the chuck of the flexshaft and bring the spinning burr into contact with solder pits or porous areas on the metal's surface. It is helpful to use one of the commonly available burr lubricants as you work. The malleability of the metal will allow the surface to deform slightly, "smearing" the metal across the surface and filling in the imperfections.
After burnishing, the surface can be lightly sanded with 600-grit sandpaper and polished with tripoli and rouge. Depending on the severity of the imperfection, the rotary burnisher can greatly improve the appearance of the surface, if not eliminate the problem altogether.
You assume all responsibility and risk for the use of the safety resources available on or through this web page. The International Gem Society LLC does not assume any liability for the materials, information and opinions provided on, or available through, this web page. No advice or information provided by this website shall create any warranty. Reliance on such advice, information or the content of this web page is solely at your own risk, including without limitation any safety guidelines, resources or precautions, or any other information related to safety that may be available on or through this web page. The International Gem Society LLC disclaims any liability for injury, death or damages resulting from the use thereof.
The All-In-One Jewelry Making Solution At Your Fingertips
When you join the Ganoksin community, you get the tools you need to take your work to the next level.
Trusted Jewelry Making Information & Techniques
Sign up to receive the latest articles, techniques, and inspirations with our free newsletter.
