How to Modify Prong Pushers
Many stone setters would agree that one of the most challenging aspects of prong setting is getting the prongs down tight on the stone. It's easy to take this process for granted. If it's done well, you might never notice. But doing it poorly can result in damaged or lost gemstones, or prongs that snag clothing and feel rough or sharp to the wearer.
2 Minute Read
Many stone setters would agree that one of the most challenging aspects of prong setting is getting the prongs down tight on the stone. It's easy to take this process for granted. If it's done well, you might never notice. But doing it poorly can result in damaged or lost gemstones, or prongs that snag clothing and feel rough or sharp to the wearer.
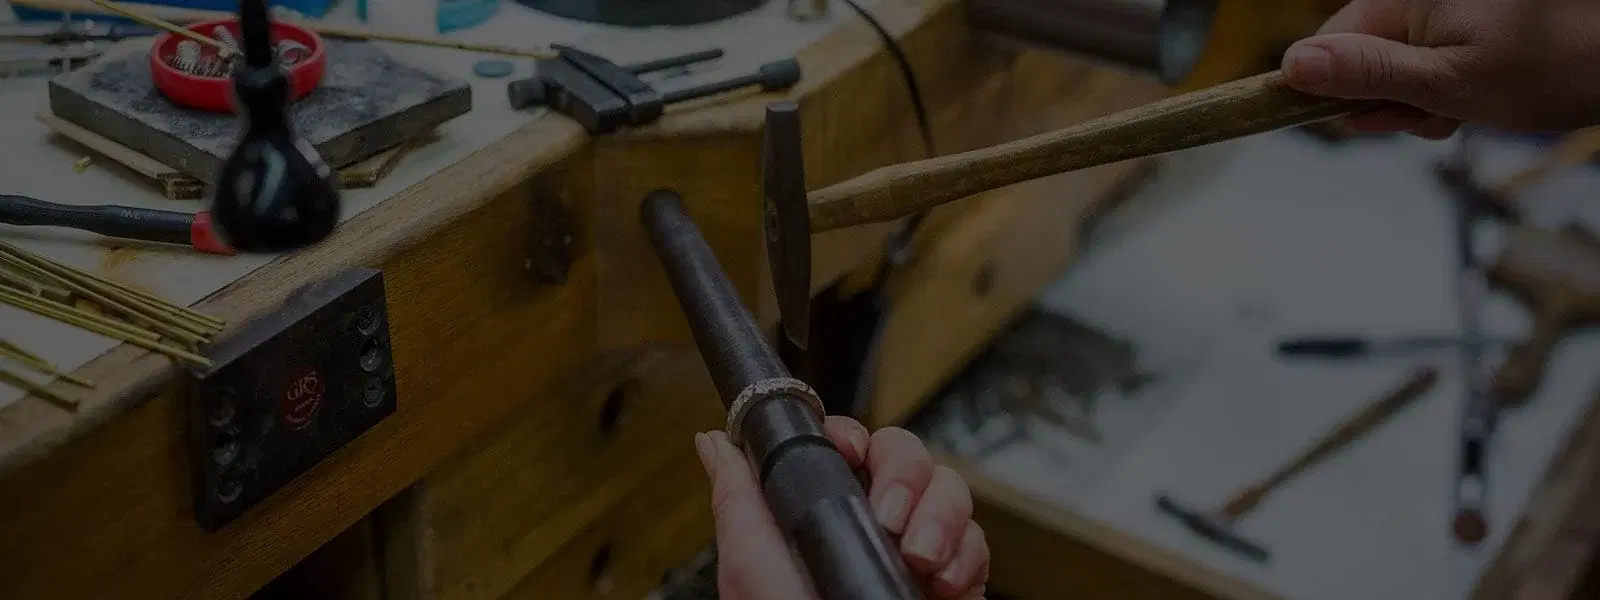
A variety of pliers or other tools can be used to push prongs down onto the stone once the bearings have been prepared. This article will focus on prong pushers, which consist of a piece of brass or steel fitted into a wooden handle.
Most common are the flat prong pusher and the grooved prong pusher. While these tools can be used "as is," a few modifications will make them more versatile.
Experienced stone setters often make their own prong pushers from used gravers, files or other tools. These are good options that allow them to reuse worn-out tools and customize the prong pusher for their particular needs, including creating different sizes so they can easily work on larger or smaller prongs and hard-to-reach areas.
Many stone setters will also modify the prong pusher's basic shape, preferring a rectangular face over a square face, which tends to block the view during the setting process. You can use a table-top bench grinder to make these modifications. Just make sure you dip the tools in water frequently as you are grinding to prevent overheating.
Many jewelers also prefer a textured face on their prong pushers. While this may cause minor tool marks on the prong as it is being tightened, the prong tips are often filed down anyway. The advantage of the textured surface is that it keeps the tool from slipping and possibly chipping the stone.
There are many ways to achieve this textured surface, but one is to simply sand across the face of the tool with a relatively coarse (220 or 320 grit) sandpaper.
Another useful modification is to put a groove in the face of the prong pusher to keep it from slipping while you push down the prong. This modification is easily made with a small cylinder bur. By extending the groove across only three-quarters of the face of the tool, you can also put a "stop" in the groove. This is a great trick for working with smaller prongs because it helps you feel the tool drop into place on the prong, allowing faster and more accurate work.
You assume all responsibility and risk for the use of the safety resources available on or through this web page. The International Gem Society LLC does not assume any liability for the materials, information and opinions provided on, or available through, this web page. No advice or information provided by this website shall create any warranty. Reliance on such advice, information or the content of this web page is solely at your own risk, including without limitation any safety guidelines, resources or precautions, or any other information related to safety that may be available on or through this web page. The International Gem Society LLC disclaims any liability for injury, death or damages resulting from the use thereof.
The All-In-One Jewelry Making Solution At Your Fingertips
When you join the Ganoksin community, you get the tools you need to take your work to the next level.
Trusted Jewelry Making Information & Techniques
Sign up to receive the latest articles, techniques, and inspirations with our free newsletter.
