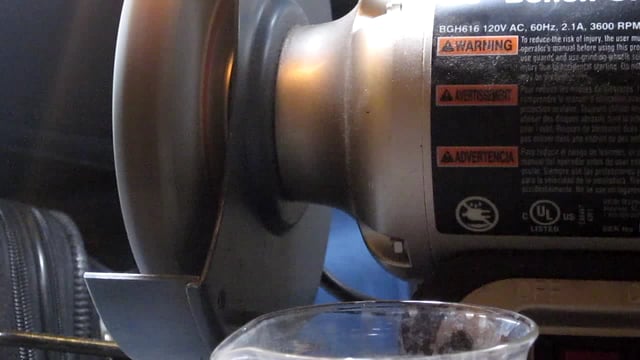
Grinding an Onglette graver
- Description
This initial preparation consists of removing the "Tang". Then having it be inserted into the wooden handle of your choice.
Lighting above the bench-grinder is very important as you must see any subtle changes in the shaping of the Onglette blade.
The next very important stage is to accurately shape the front part of the blade to a fine point.
Water immersion is very important, if the blade overheats it will turn a bluish colour & have the steel soften.
I use a ratio of three grindings to one of water. In my next video will show how the finished blade will look.
There are many 'delicate steps of preparation' before the actual "Bright-Cutting". One thing to remember, there are no 'short-cuts'..only doing things the correct way! - AuthorGerry Lewy
With over 40 years experience as a stone setter, Gerry Lewy is known throughout the diamond setting community. Gerry started his 9-year apprenticeship with a jewelry manufacturer and tutored by a gentleman ‘setter’, in Haddon Gardens, London. Gerry has redeveloped himself into more than a master setter, his purpose is now to be a teacher of the art as well.
You assume all responsibility and risk for the use of the safety resources available on or through this web page. The International Gem Society LLC does not assume any liability for the materials, information and opinions provided on, or available through, this web page. No advice or information provided by this website shall create any warranty. Reliance on such advice, information or the content of this web page is solely at your own risk, including without limitation any safety guidelines, resources or precautions, or any other information related to safety that may be available on or through this web page. The International Gem Society LLC disclaims any liability for injury, death or damages resulting from the use thereof.
